
Blown-In Insulation Service Guide:
How to Insulate Your Attic for Maximum Energy Savings:
At QuillCraft Construction, we know that proper attic insulation is essential for maintaining energy efficiency, preventing ice dams, and keeping your home comfortable year-round. Blown-in insulation (also known as loose-fill insulation) is a popular choice for its ability to easily fill gaps and hard-to-reach areas, improving overall performance.
This guide walks you through everything from preparation to installation and long-term maintenance, ensuring you get the most out of your insulation investment.

Recommended R-Value for attics in Colorado Spring
Colorado Springs falls under climate zone 5, and the U.S. Department of Energy recommends: R-49 to R-60 for attics in cold climates.
| Insulation Type | R-Value Per Inch | Depth Required for R-49 | Depth Required for R-60 |
|---|---|---|---|
| Fiberglass | R-2.5 to R-3.7 per inch | 14 to 20 inches | 16 to 22 inches |
| Cellulose | R-3.2 to R-3.8 per inch | 13 to 16 inches | 16 to 19 inches |
| Mineral Wool | R-3.0 to R-3.3 per inch | 15 to 18 inches | 18 to 20 inches |
Blown-In Insulation Process:
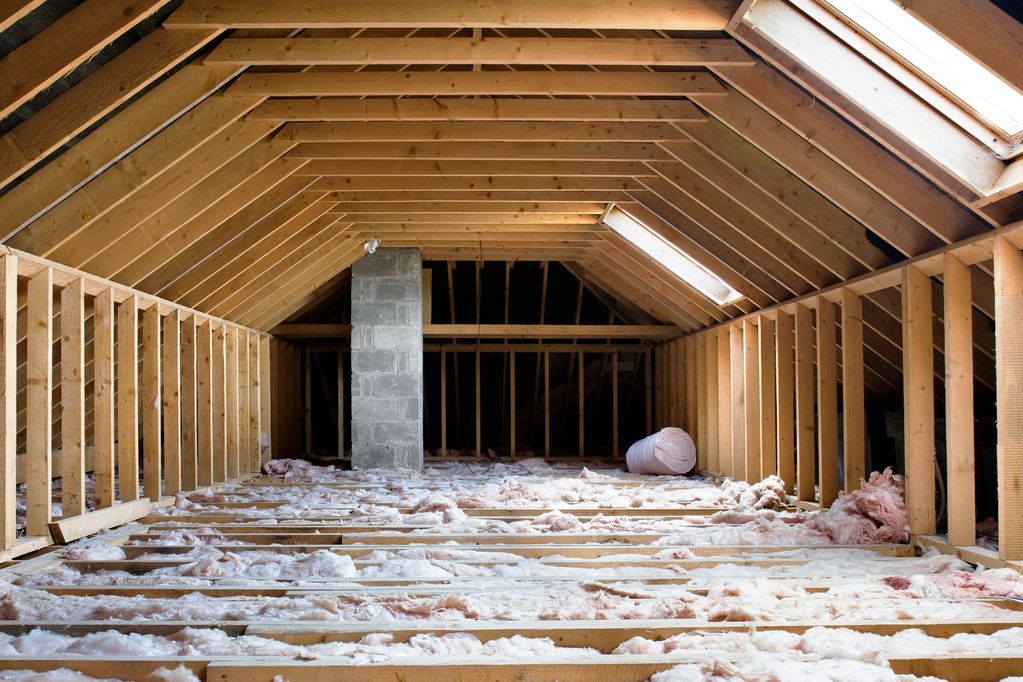
Step 1: Assessing Your Attic Insulation Needs
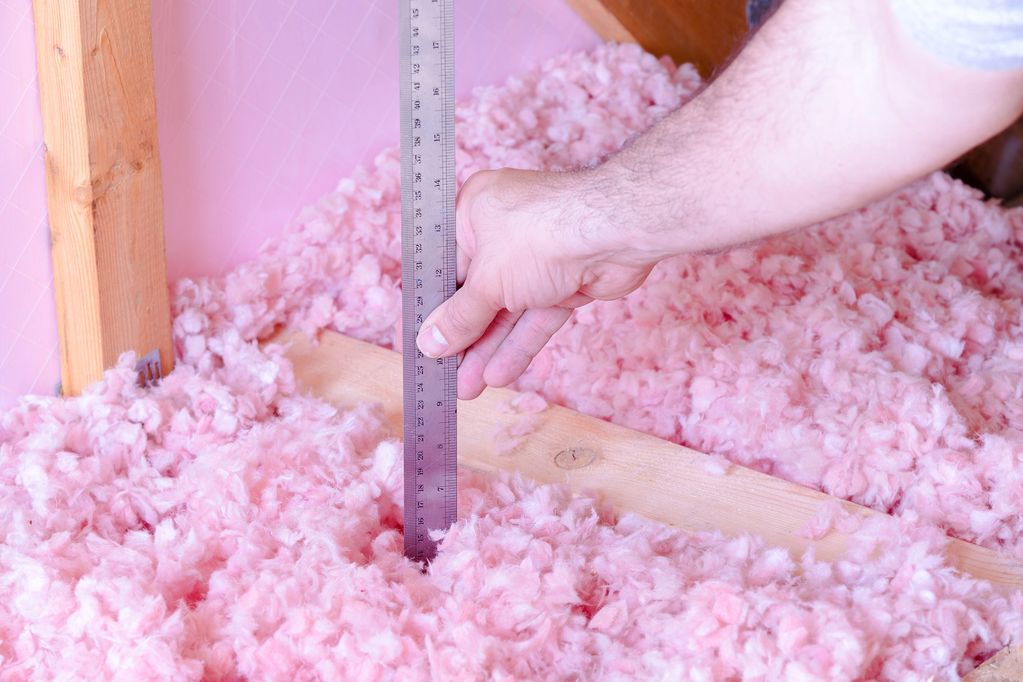
Check Your Current Insulation Level
- Use a ruler or tape measure to determine the thickness of existing insulation.
- Compare it to the recommended R-value for your region (R-38 to R-49 in colder climates).
Identify Air Leaks & Ventilation Issues
- Before adding insulation, seal air leaks around:
- Light fixtures
- Ducts
- Chimneys
- Plumbing vents
- Ensure attic ventilation is adequate with soffit and ridge vents to prevent moisture buildup.
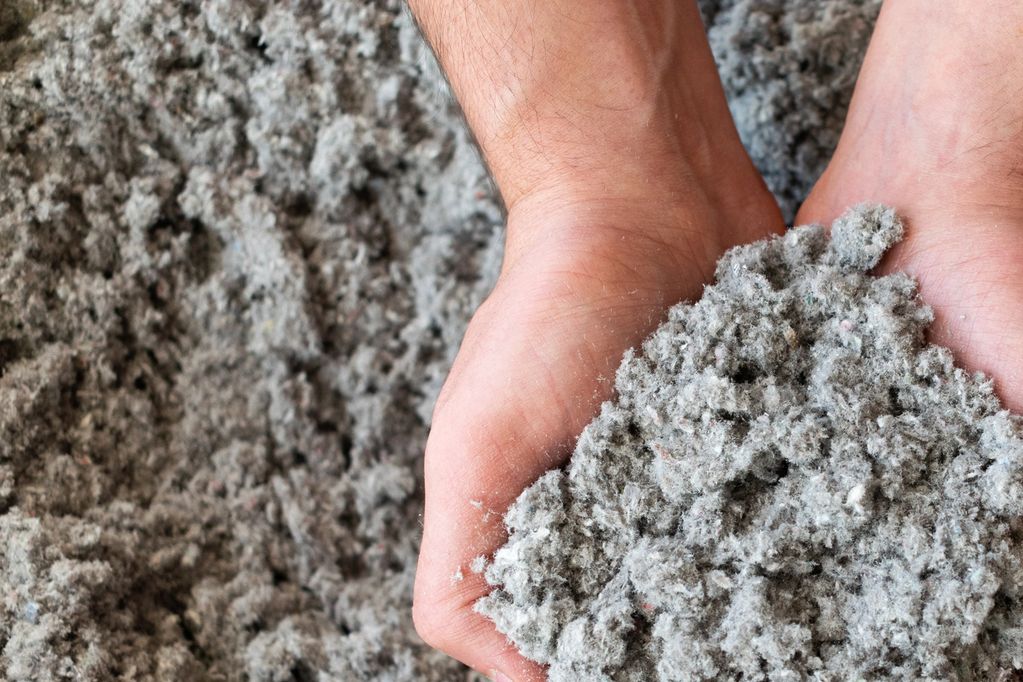
Step 2: Choosing the Right Blown-In Insulation
| Feature | Fiberglass (Loose-fill) | Cellulose (Loose-fill) | Mineral Wool (Loose-fill) |
|---|---|---|---|
| R-Value per Inch | R-2.5 to R-3.7 | R-3.2 to R-3.8 | R-3.0 to R-3.3 |
| Material | Spun glass fibers | Recycled paper, treated with fire retardant | Volcanic rock and slag fibers |
| Fire Resistance | Naturally fire-resistant | Fire-retardant treated | Naturally fire-resistant |
| Moisture Resistance | Can absorb moisture but dries quickly | Absorbs moisture, can sag over time | Highly moisture-resistant |
| Mold & Pest Resistance | Mold-resistant but can hold moisture | Can develop mold if wet | Naturally mold- and pest-resistant |
| Density & Air Sealing | Lightweight, may allow air leaks | Denser, better air sealing | Dense, provides good air sealing |
| Durability | Can settle over time, reducing effectiveness | Can settle significantly, requiring more material | Minimal settling, maintains R-value |
Step 3: Preparation Before Installation
Gather Necessary Materials & Tools
- Blown-in insulation (fiberglass, cellulose, or mineral wool)
- Insulation blower machine (rented or purchased)
- Protective gear (goggles, mask, gloves, coveralls)
- Ruler or depth gauge to measure insulation levels
- Plywood sheets for safe attic access
Protect Your Attic & Home
- Cover recessed lights with insulation-rated covers.
- Use foam board or barriers around chimneys and heat sources.
- Mark areas for ventilation to prevent blocking air circulation.
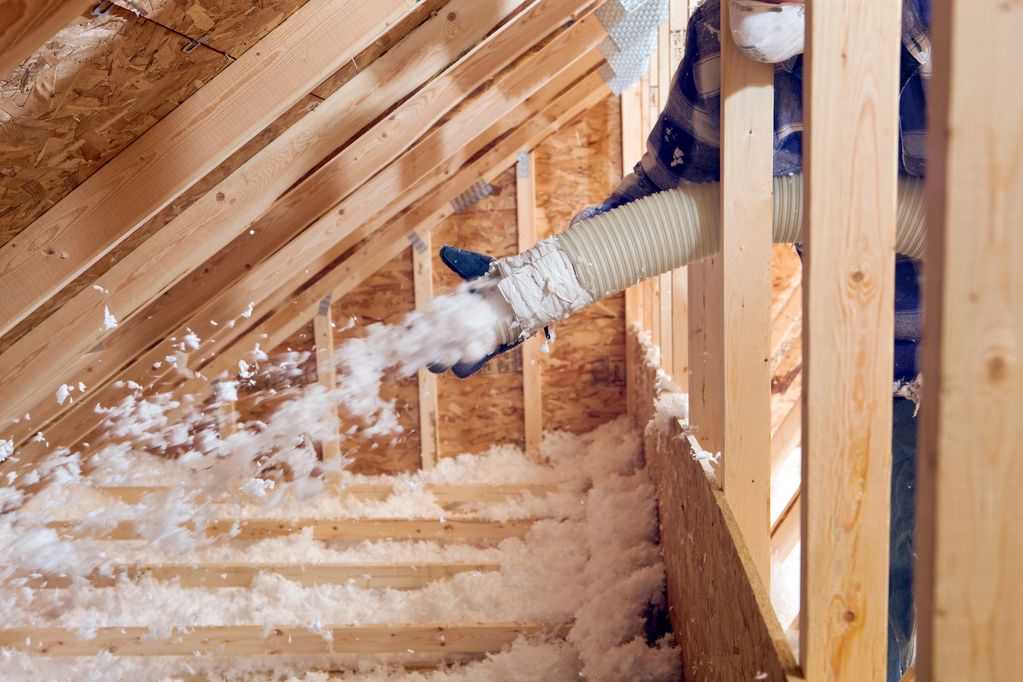
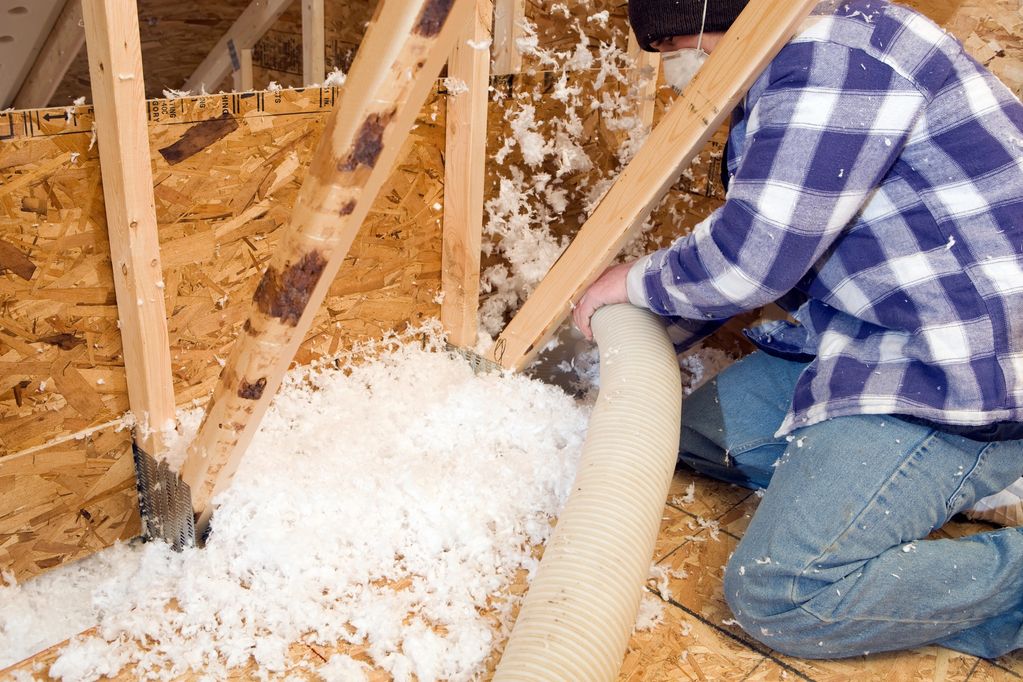
Step 4: Installing Blown-In Insulation
Set Up the Insulation Blower
- Place the blower machine outside or in a ventilated garage.
- Run the hose into the attic and have a helper feed insulation into the machine.

Start Blowing Insulation
- Begin at the farthest corner of the attic and work backward.
- Keep a steady hand and move the hose in a sweeping motion for even coverage.
- Maintain a consistent depth according to your target R-value.
Avoid Overfilling & Blockages
- Do not block vents or eaves with insulation - this can cause moisture issues.
- Keep insulation away from attic access points for easy future maintenance.
Step 5: Post-Installation Inspection & Cleanup
- Check insulation depth with a ruler or depth markers.
- Ensure vents and airflow paths remain clear.
- Clean up any excess insulation from attic floors and entryways.

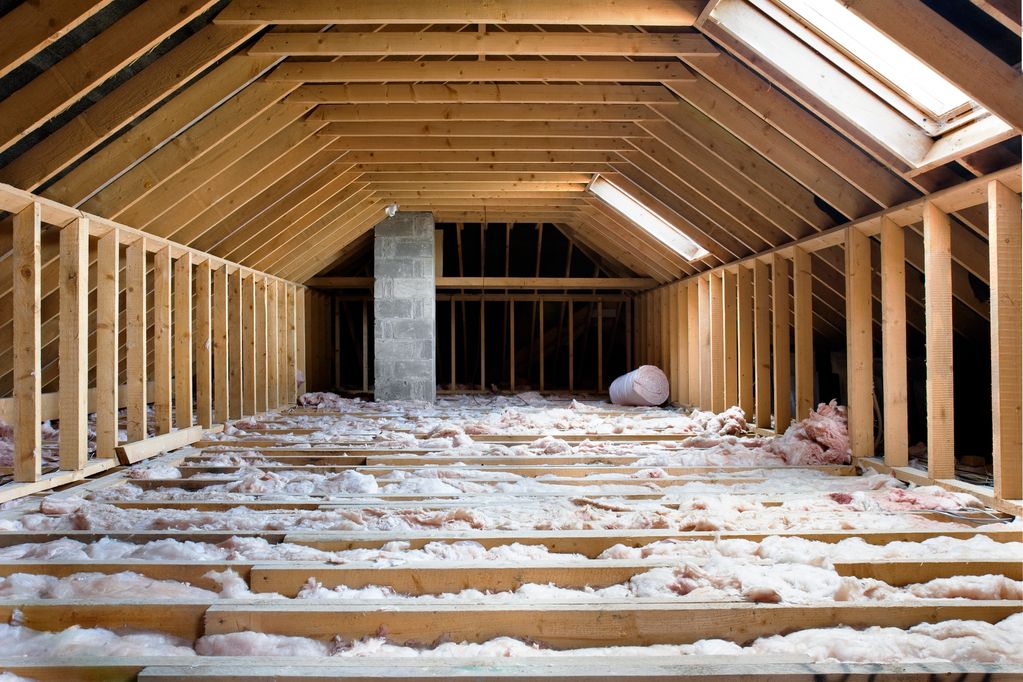
Long-Term Maintenance & Tips
- Recheck insulation depth every few years - settling can reduce effectiveness.
- Seal any new air leaks that develop over time.
- Ensure attic ventilation remains clear to prevent condensation issues.
- Consider adding a radiant barrier in hot climates to improve energy efficiency.
A Smarter Insulation Choice for Colorado Springs Homeowners
Blown-in attic insulation is an efficient and cost-effective way to improve your home's energy performance. Proper preparation, installation, and maintenance ensure long-lasting benefits, including lower energy bills, better indoor comfort, and a reduced risk of ice dams. Investing in quality insulation is a smart way to protect your home year-round.
If you're looking to upgrade your attic insulation for maximum efficiency and comfort, reach out to QuillCraft Construction today!