
Skylight Installation & Replacement Service Guide:
What to Expect from Inspection to Installation:
QuillCraft Construction offers expert skylight installation and replacement for Colorado Springs homeowners looking to add natural light, improve airflow, and elevate their home’s aesthetic. This guide walks you through the entire process, from selecting the right skylight to ensuring a leak-free, energy-efficient install, so you can feel confident in both the look and long-term performance of your investment.

How to Choose, Install, and Maintain Skylights for a Brighter, More Efficient Home:
Step 1: Choosing the Right Skylight
Types of Skylights
- Fixed Skylights: Non-opening, ideal for natural light without ventilation.
- Vented Skylights: Open manually or electronically for airflow, great for kitchens and bathrooms.
- Tubular Skylights: Small, reflective tubes that channel light into dark spaces, ideal for closets and hallways.
Skylight Glazing Options
- Tempered Glass: Strong and shatter-resistant.
- Laminated Glass: Offers better insulation and UV protection.
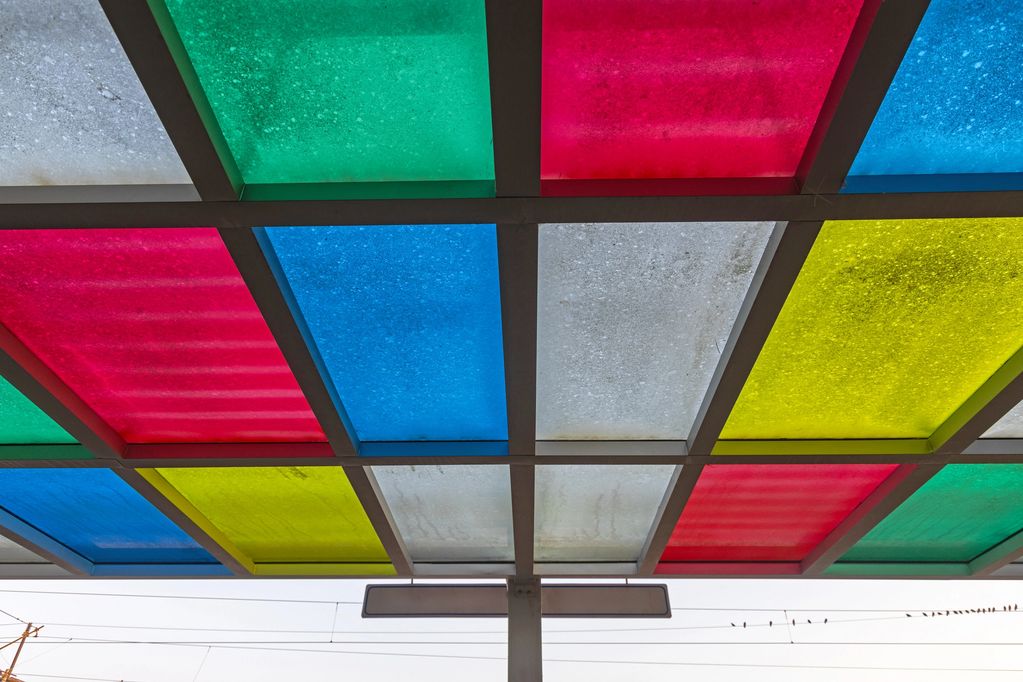
- Acrylic or Polycarbonate: Lightweight but prone to scratching.
Energy Efficiency Features
- Low-E Coatings: Reduce heat gain and UV damage.
- Double or Triple-Pane Glass: Improves insulation and prevents condensation.
Step 2: Skylight Placement & Roof Considerations
Best Locations for Skylights
- South-facing skylights capture the most sunlight but can overheat without tinting.
- North-facing skylights provide consistent, soft lighting.
- East-facing skylights offer morning sunlight.
- West-facing skylights provide evening light but can cause heat buildup.
Roof Slope & Framing Considerations
- Flat or low-slope roofs require curb-mounted skylights for waterproofing.
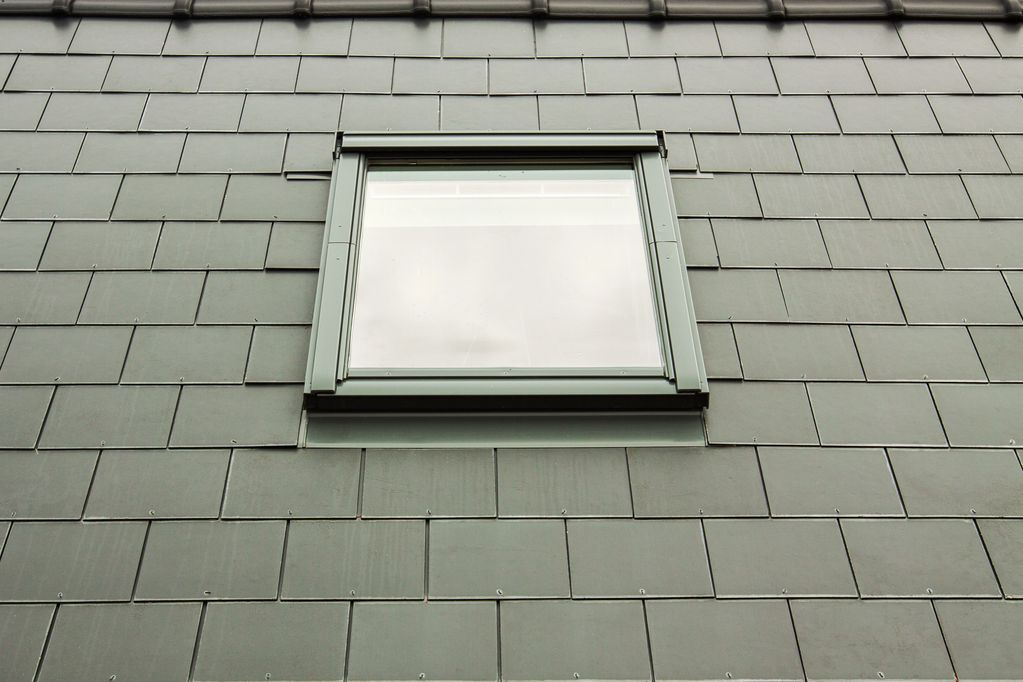
- Pitched roofs can use deck-mounted skylights, which sit flush with the roof.
- Check rafter spacing to determine the skylight’s width and size.
Step 3: Skylight Installation Process
Gather Tools & Materials
- Skylight unit
- Flashing kit (step flashing, saddle flashing, etc.)
- Roofing nails and screws
- Roofing sealant
- Utility knife
- Circular saw or reciprocating saw
- Tape measure and chalk line
Installing the Skylight
- Position and secure the skylight to the roof with screws.
- Install step flashing along the sides and saddle flashing at the top to prevent leaks.
- Seal around the skylight with roofing sealant to reinforce waterproofing.
- Reinstall shingles around the skylight to blend with the roof.
Step 4: Skylight Maintenance & Leak Prevention
Regular Inspections
- Check for cracks, condensation, or leaks around the skylight.
- Ensure flashing is intact and free of rust or lifting edges.
Cleaning the Skylight
- Use mild soap and water to clean glass surfaces.
- Remove debris, leaves, or dirt from the exterior to prevent water pooling.
Preventing Condensation & Overheating
- Use vented skylights or ceiling fans to control humidity.
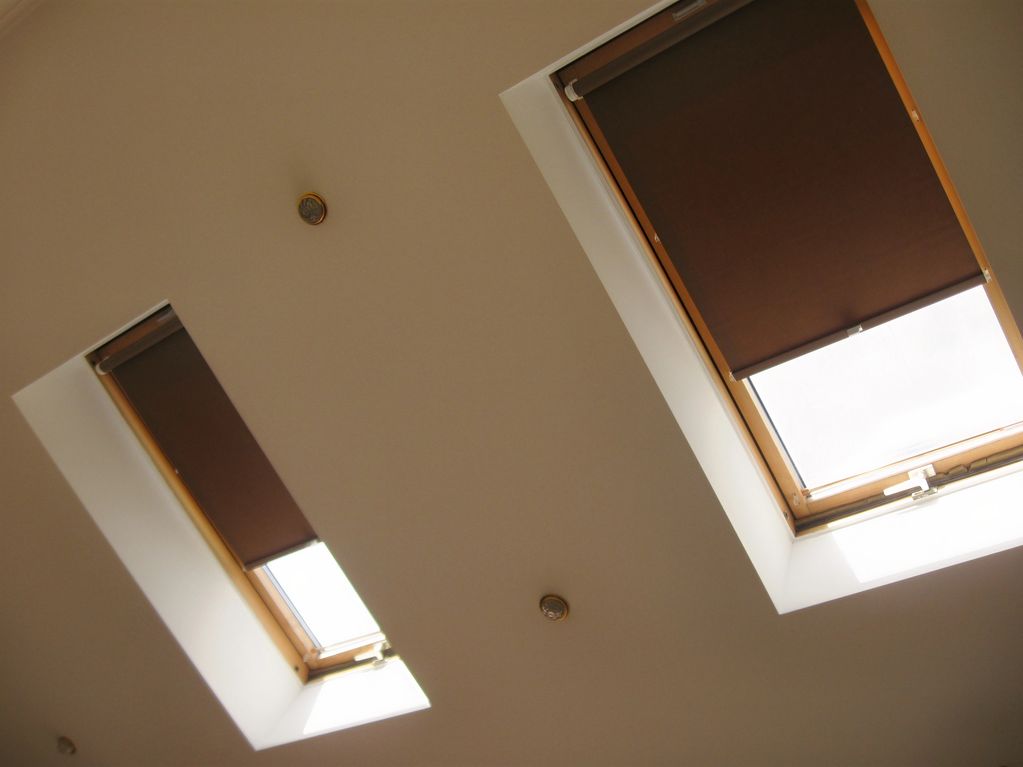
- Install blinds or shades to reduce heat gain in summer.
Enjoy the Benefits of Skylights - Without the Headaches
Skylights can transform your home with natural light and added ventilation, but proper installation and upkeep are essential for preventing leaks and improving energy efficiency over time. With the right approach, you’ll enjoy the beauty and comfort skylights offer, without the risk of costly issues down the line.
Thinking about installing a new skylight or need help with one that’s already in place? Contact QuillCraft Construction for reliable skylight installation and maintenance in Colorado Springs you can count on.